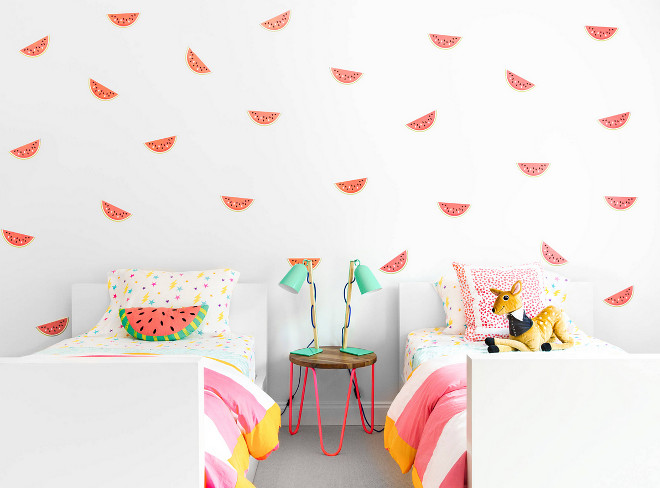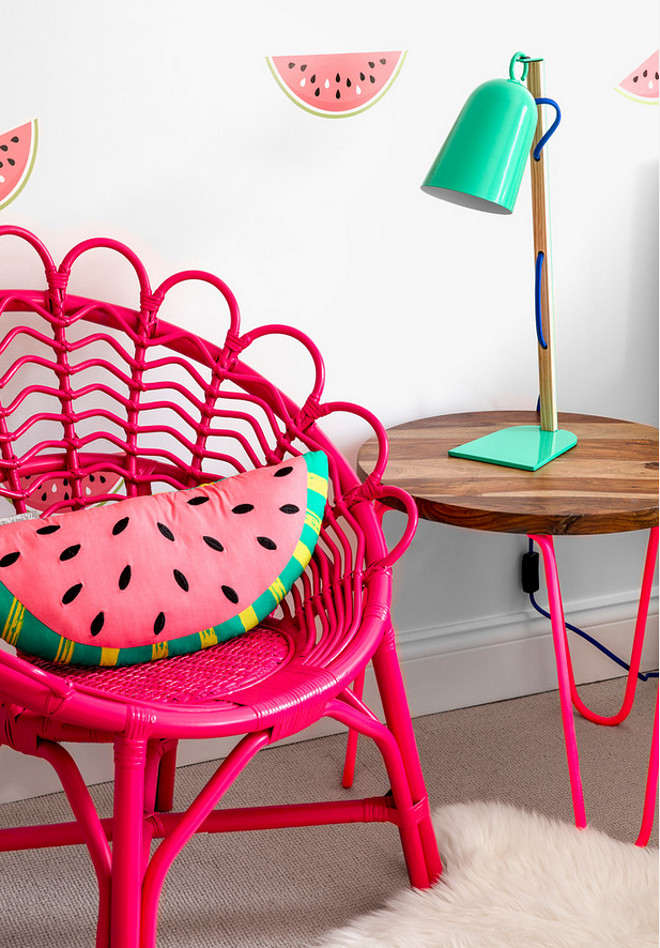
Vinyl wall art stickers provide a quick and easy way to enhance the look of your room. There are a plethora of designs and sizes that you can pick from and the best thing about the stickers is that they are easily available and in affordable prices.
You also get tones of options to choose from. You can choose anything from a love sticker to birds to car stickers, based on your personal choice and requirements.
While the options are many, the fact is that the stickers will not look very good if you do not stick them properly, even if the design is impressive.
There are certain things that you need to keep in check such as selecting a suitable place, peeling the white tape with caution etc., to make sure the job is done smoothly.
Still worried about it? Here’s how to apply vinyl wall art stickers the right way:

The very first thing you should do is pick a place where you’d put the sticker.
A lot of people make the mistake of buying wall art before deciding on the location. This can cause many problems, above all size issues. What if there isn’t enough space to place the sticker, or what if the sticker is too small?
In order to avoid such issues, make sure to first find a position and inspect it carefully.
Make sure the surface is smooth and clean because if it isn’t then the wall sticker won’t stick properly.
Once you’ve decided on a place, it will be easier to pick a sticker that will look good on the wall you’ve selected.
Next, pick a sticker according to the size and other elements, including the background. Since the stickers do not have a background of their own, you must keep the wall color in mind when making a purchase.
The next step involves placing the wall sticker on the table upside down and peeling off the white paper on its back.
To do this, a credit card or key might come in handy.
Move the squeegee back and forth to have sticker depart from the white tape.
Once done, start peeling off the white paper from the edges but make sure to do it very gently.
Some vinyl designs such as wordings or labels or complicated designs don’t peel off easily.
If you face this problem, don’t struggle with it, simply roll it back and try peeling it off again as slowly as you can.
When you are done separating the sticker, stick it to the wall you chose.
Make sure you paste it in a perfect angle.
Once you’ve stuck the sticker on the wall, use a ruler or a smooth object to rub very gently across the sticker to make it stick firmly.
Doing this will eliminate any creases so that the sticker looks good.
The last part requires to peel of the transparent tape so that the design on the sticker sticks to the wall or the object you chose.
This is how easy it is. No extra tools needed, and the job is done in a few minutes.
Images: Chango & Co. – Photo by Sean Litchfield.
Thank you for shopping through Home Bunch. For your shopping convenience, this post may contain AFFILIATE LINKS to retailers where you can purchase the products (or similar) featured. I make a small commission if you use these links to make your purchase, at no extra cost to you, so thank you for your support. I would be happy to assist you if you have any questions or are looking for something in particular. Feel free to contact me and always make sure to check dimensions before ordering. Happy shopping!
Wayfair: Up to 75% OFF on Furniture and Decor!!!
Serena & Lily: Enjoy 20% OFF Everything with Code: GUESTPREP
Joss & Main: Up to 75% off Sale!
Pottery Barn: Bedroom Event Slale plus free shipping. Use code: FREESHIP.
One Kings Lane: Buy More Save More Sale.
West Elm: 20% Off your entire purchase + free shipping. Use code: FRIENDS
Anthropologie: 20% off on Everything + Free Shipping!
Nordstrom: Sale – Incredible Prices!!!

 Tom Brady and Gisele Bundchen’s Home – Full House Tour.
 Beautiful Homes of Instagram: Modern Farmhouse.
 2019 New Year Home Tour.
 Coastal Farmhouse Home Decor.
 Beautiful Homes of Instagram: Charlotte, NC.
 Florida Beach Cottage.
 Dark Cedar Shaker Exterior.
 Grey Kitchen Paint Colors.
“Dear God,
If I am wrong, right me. If I am lost, guide me. If I start to give-up, keep me going.
Lead me in Light and Love”.
Have a wonderful day, my friends and we’ll talk again tomorrow.”
with Love,
Luciane from HomeBunch.com
No Comments! Be The First!